

Step-By-Step Canning Tips
A photo tutorial of water process canning for beginners.

I am relatively new to canning. Although I grew up watching my grandmother and mother can, I really had no idea what equipment I needed or how to proceed with the canning process. So, I went to the internet and book store to learn how. It's was a little intimidating at first, since it was all new to me. But, once I got the supplies I needed and canned my first jars of jam, my confidence grew. Now 7 years and hundreds of canned jars later, I have come to love the process of canning and pulling my homemade jars off my pantry shelves throughout the year. Homemade canned goods also make great gifts, and you can always have them on hand.
Truth is, canning isn't hard. It just seems that way if it's totally new to you. So, I hope if you're interested in giving canning a try, maybe my experience will help you. I'm a canning rookie compared to many, but I haven't had a batch fail yet. It's all about following the rules. And, it is important to follow the rules so that your food is preserved safely.
- A word of caution about water process canning. For food safety, it is important to have the correct amount of high acid ingredients in a recipe in order to use water process canning. That's why I only use tested canning recipes. You can safely make tweaks to the seasonings, but it is important to keep the correct ratio of of low and high acid ingredients to ensure a safe pH level. Canning homemade recipes can be risky if they haven't been tested for proper pH levels. Without enough acid in a canning recipe, harmful bacteria like botulism can form.
If you want more detailed canning information, I recommend the Ball website. They are the ultimate authority, and their site is loaded with detailed information and recipes suited for canning. Whatever recipe you decide to can, make sure it is one that has been tested for canning food safety. Refer to the Ball website or canning cookbooks to be sure.
First, assemble your equipment.
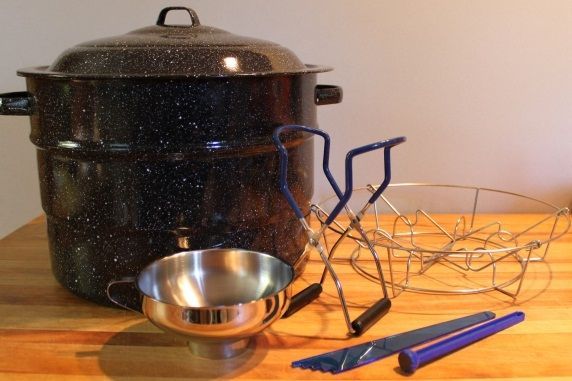
Here's what I use. These items can be purchased separately or in a kit. A waterbath canner, jar rack, jar lifter, funnel, tool for measuring headspace and removing bubbles. A magnetic lid lifter often comes with canning kits; however it isn't an essential tool. Here's an explanation of recommended equipment with Amazon links:
Canner. This is basically a HUGE pot. Here are 2 options that have both worked great for me.
- canning kit -- I used this economy stove-top canner set for years. I processed hundreds of jars of salsa, marinara sauce, jams, and pickles with this set. It comes with tools and is all you need if you'd like to keep your equipment cost down. (Note: The kit comes with a plastic funnel. The stainless steel funnel in my photo below was purchased separately.)
- deluxe electric canner (and multi-cooker) -- I recently upgraded to this awesome appliance. This canner is a game changer if you do a lot of canning. It quickly heats water without taking up stove space. Use it next to the sink where you can easily fill it, and empty it directly into the sink with the drain spout on the side. It doesn't heat the kitchen like the stove-top model. I LOVE this appliance! It also multi-tasks for cooking large batches of soups or beverages, although I haven't personally used it for that yet.

Other essential tools (if you don't get the kit that includes them)
- Stainless steel funnel--The kit comes with a plastic funnel. I prefer this sturdier metal one, so I purchased it separately. It fits regular and wide mouth jars. I use it almost daily, since I use mason jars for all kinds fridge, freezer, and pantry food storage--not just for canning. It helps keep the jar rims clean, which is very important for ensuring a proper seal.

- Bubble remover and head space measuring tool--One end of this tool is used to insert down the sides of your jars to remove any bubbles that are trapped. The other end rests on the jar rim to measure the correct amount of headspace between the contents and the top of the jar. It's a simple tool, but very handy!

- Jar lifter. This makes it easy to insert jars into and out of the canner in a vertical position, and it prevents burning your hand.

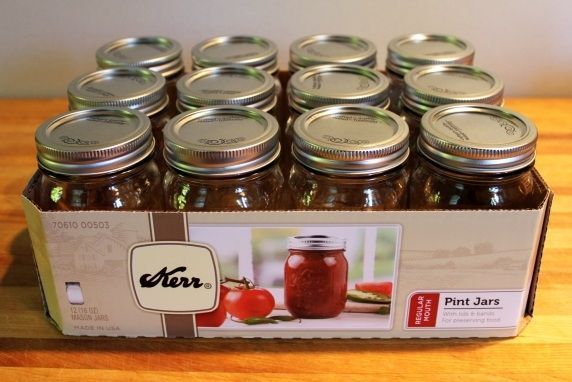
- Canning jars come in several sizes. They come with one set of lids and rims. The lids are all one of two sizes: regular or wide mouth. I used wide-mouth pint jars for my marinara sauce. It is important that you use jars specifically made for home canning. Ball has a chart of canning jar and lid sizes that is a good reference. These jars and lids are available at many grocery and discount stores.
♦♦View on Amazon: mason jars
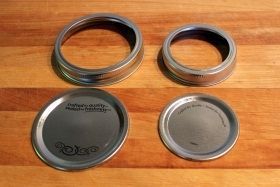
- Lids and rims. You can also purchase rims and lids together, or lids only. Rims can be washed and reused, but lids cannot. That's because the lids have a seal around them that needs to be new and in perfect shape in order to get a tight seal on your jars. Otherwise the canned food will spoil. So, if you have jars and rims that you've used before, they can be washed and reused. But, you need to buy new lids each time you can.
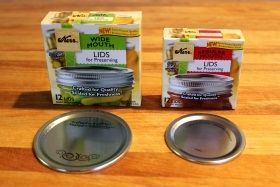
View lids on Amazon:
♦wide mouth lids, ♦wide mouth lids and rims
♦regular mouth lids, ♦regular mouth lids and rims
I'll proceed to show you how to can using a stove-top waterbath canner. Use the same procedure for an electric canner. In the photos below, I am canning marinara sauce.
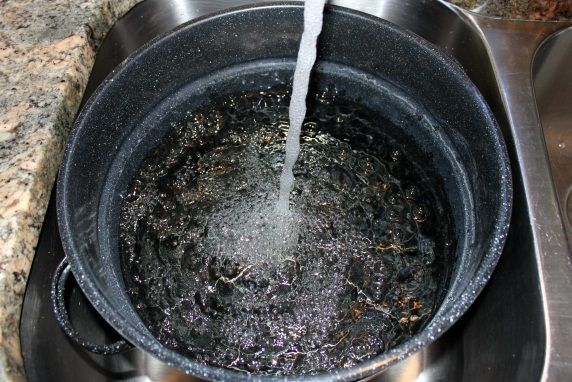
Step 1: Fill the waterbath canner and heat the water to a boil.
Make sure you put the rack in the bottom of the canner before filling it. The water level needs to be 1-2 inches above the jars.
Step 2: Wash your jars, rims, and lids. Only sterilize jars, if necessary.
First wash them in hot, sudsy water and rinse them well. If you'll be making a recipe that requires processing the filled jars in boiling water for 10 minute or more, it's not necessary to sterilize them beforehand. If processing time is under 10 minutes, you do need to sterilize the jars before filling them. They can be sterilized in simmering water (180 degrees F) in the water bath canner for 10 minutes before removing and filling them. The jars should be hot (at a simmering temperature) when they are filled.
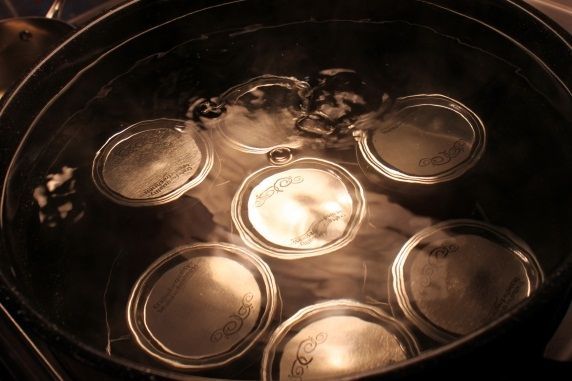
2015 update to canning procedures (source Ball website):
- It is no longer considered necessary to simmer jar lids in water before adding them to the tops of filled jars. This was previously recommended in order to insure a good seal; however the Ball company did extensive testing and determined this step to be unnecessary. Washing the lids in hot sudsy water, rinsing, and drying them is sufficient to prepare them for use.
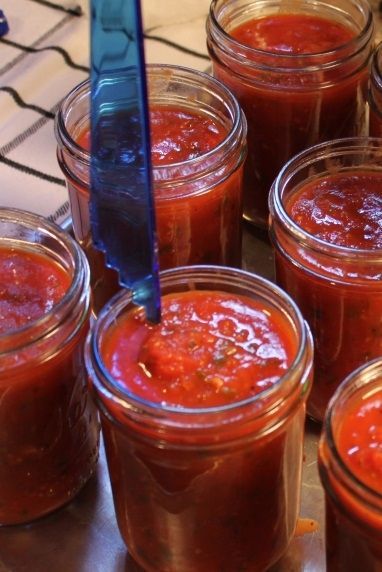
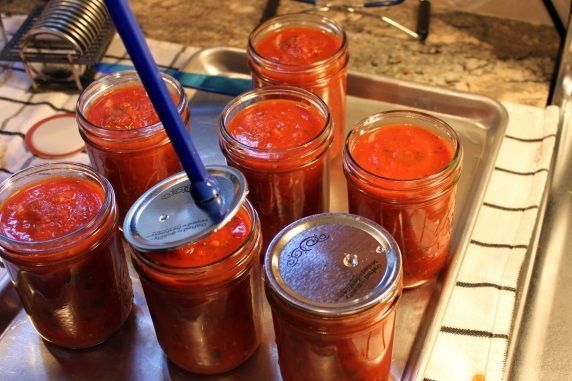
Step 3: Use a canning funnel to add sauce to each jar.

Step 4: Measure and double check the headspace.
Use the measuring tool to make sure you've left 1/2" of headspace (the distance between the liquid and the top of the jar). Note: The amount of headspace required may vary in different recipes.
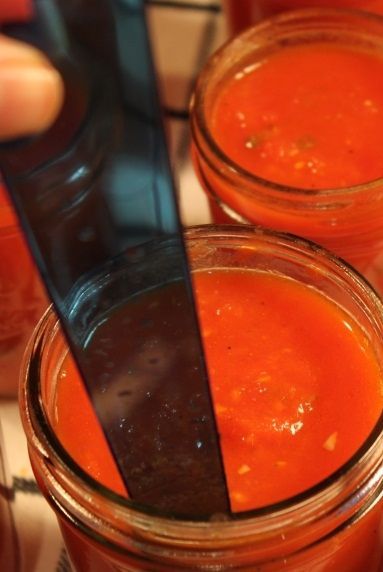
Step 5: Remove air bubbles.
Insert the flat end of the measuring tool down the side of each jar. Move it in towards the center of the jar. This will remove any air bubbles that might have formed. Repeat this 2 or 3 times around the inside of the jar.
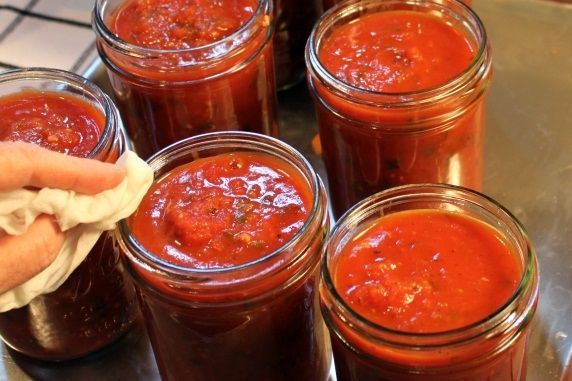
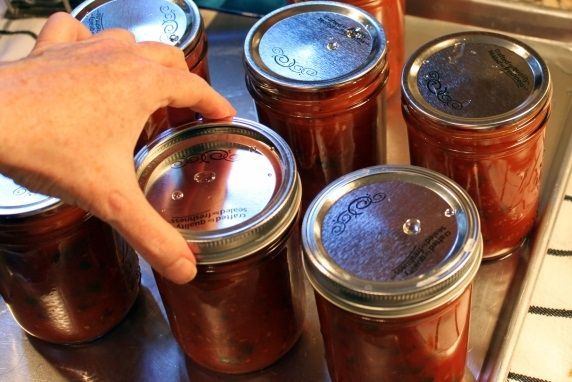
Step 6: Clean the jar rims.
Use a damp paper towel or cloth to wipe the rims of the jars. Any sauce left on the rims can keep the jars from sealing properly.
Step 7: Put lids on jars.
Place a clean lid on top of each jar.
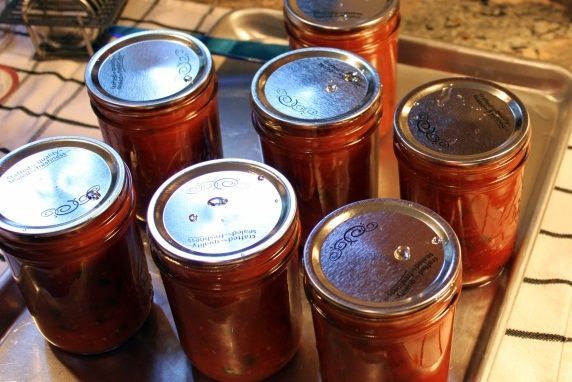
Step 8: Place and tighten the rims on the jar lids.
Screw the bands down and tighten them just until you first feel resistance--this is called "fingertip tight". Don't over-tighten.
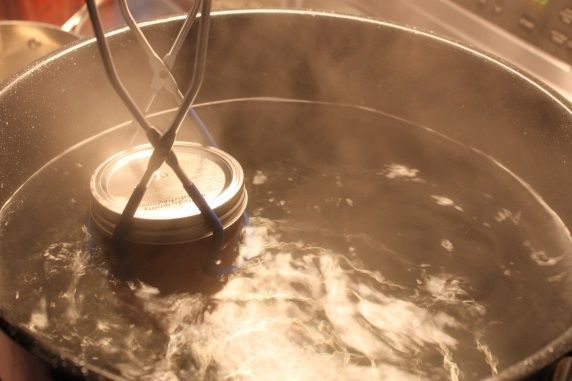
Step 9: Put jars in canner of boiling water.
Use the jar lifter to pick up the jars and place them in the canner.
Add jars carefully to the rack on the bottom of the canner, making sure the bottoms are resting flat on the rack and remain upright. Put the first jars around the outside of the rack and move towards the center as you add more jars.
Step 10: Return the water to a full rolling boil.
This may take a few minutes.
Step 11: Bring canner to a full boil again and process for specified time.
With cover on, process jars at a gentle, steady boil for the time indicated in the recipe. Process time for the marinara sauce is 35 minutes for pint jars and 40 minutes for quart jars.
Step 12: After processing time is up, turn off heat, remove canner lid, and leave jars in canner for 5 minutes.
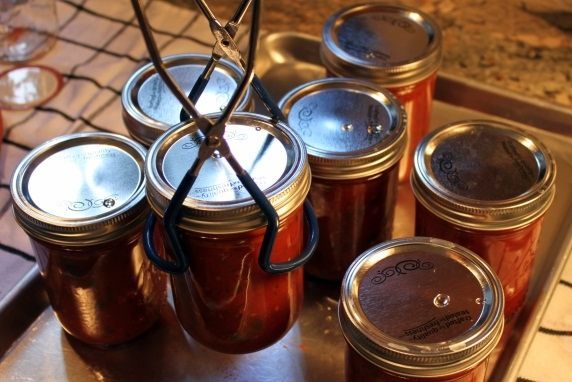
Step 13: Remove jars with jar lifter and let cool.
Set them upright on a towel to cool with approximately 1 to 2 inches between them. Do not retighten the rims. You may hear a pinging noise as the jars cool and seal. The jars should not be disturbed for 12-24 hours.
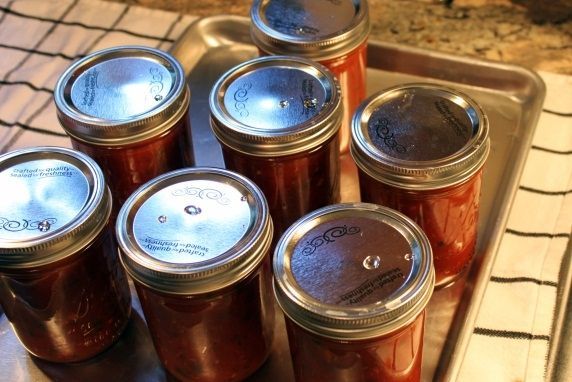
Step 14: Check the seals.
After they have rested for at least 12 hours, press the center of each lid. There shouldn't be any give to it. If it gives to your finger pressure, that means the seal isn't good. Refrigerate and use it soon, or freeze the contents.
Step 15: Label and store.
Label each jar with the contents and date. Store in a cool, dark, dry place.
Step 16: Enjoy your homemade canned goods!

Here are some of my recipes that are suitable for water process canning:
- Classic Marinara Sauce
- Roasted Salsa
- Roasted Salsa Verde
- 3 Barbecue Sauces
- Pickled Jalapeno Peppers
- Fruit & Applesauce Blends
- Choose-Your-Stone-Fruit Jam
- Choose-Your-Berry-Jam
- Bread and Butter Pickles
- Dill Pickles
- Pickled Garlic
- Slow Cooker Apple Butter
- Apple Cider Syrup
Make it a Yummy day!
Monica
this post was updated 7/2014