

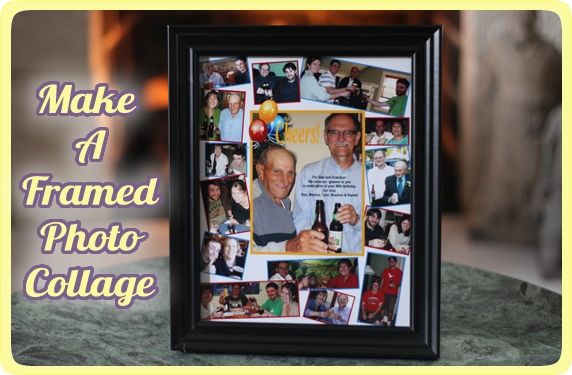
How to Make An Easy Framed Photo Collage for A Gift
We just returned from a weekend in Wisconsin where we attended a party celebrating my father-in-law Al's 90th birthday. It was a happy occasion in honor of a very special man. Al has been a farmer all his life. He was raised on a dairy farm. With his wife Marie who passed away a few years ago, Al raised his own family of 10 kids on a dairy farm. To this day he works on the family farm, now run by two sons and their families. Hard work and remaining active seem to be the keys to Al's longevity and health. He's a happy example of how to live a good, productive life.
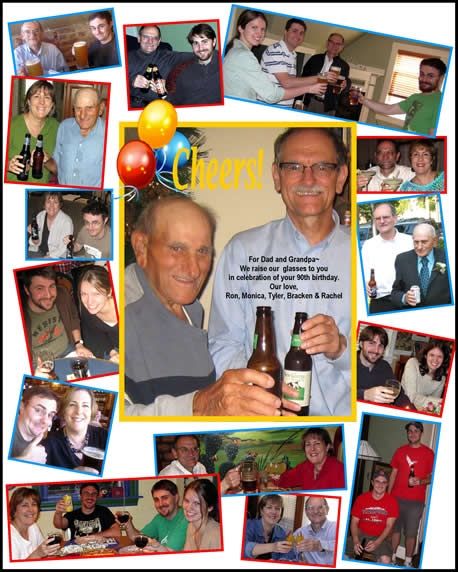
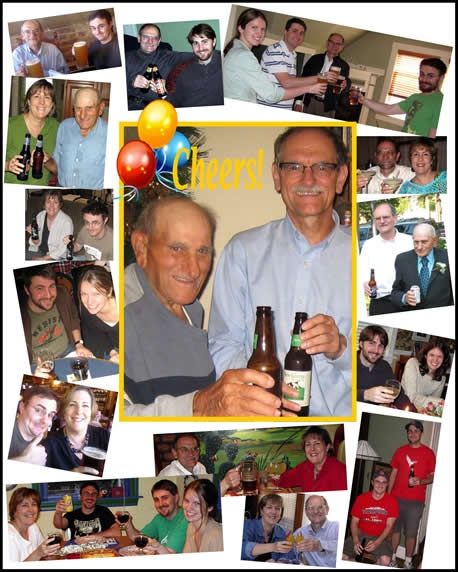
This is exactly the kind of occasion when I like to give photo gifts of some sort. There's nothing more personal or treasured. A 90th birthday is a milestone worthy of a special, sentimental gift. I chose "Cheers" as the title of this collage with photos of our family raising our glasses and toasting at previous celebrations, all brought together in the collage to represent toasts to Al on his 90th birthday.
Whenever King-Man and I drive to Wisconsins to visit Al, we can always count on him welcoming us with a bottle of Wisconsin beer when we arrive--usually Point beer from a local brewery in Steven's Point. Al's not a big drinker, and I seldom see him drink otherwise; but we always share a beer when we're first together. So, "Cheers!" seemed a fitting theme for a photo collage for him.
Our sons, T-Man and Brackenthebox, and daughter-in-law Rachel, weren't able to make the long trip to Wisconsin from their homes in San Francisco and Boston; but I could include their photos in the collage and make them part of Al's birthday celebration and gift.
Create a photo collage on your computer.
I created this collage on my home computer using Microsoft Publisher. There are lots of software programs that will work to create something similar, and you're likely to have something on your computer that will do it. Many photo kiosks in stores make it easy for you to create and print collages if you don't already have the software to do it at home. They usually have collage templates--all you have to do is drag and drop your photos into the spaces on the template.
There is also some great software out there made specifically for creating digital scrapbooks and photo collages. The best I know of is Storybook Creator Plus by Creative Memories.
You may already have photo editing software on your computer. If not, I recommend that you download Google's free Picasa software. It's great for quick, easy photo editing and cropping.
Here is my finished collage that I uploaded to the Walgreens website. I picked up a printed copy an hour later at their store a few blocks from my house. It was easy, fast, and inexpensive.
Here are the steps for creating a photo collage like this one.
1. Pick a theme that is fitting for the person being celebrated. It could be a favorite sport, hobby, food, vacation spot, or tradition. You don't have to have a theme, but it makes the collage more fun and it makes it easier to narrow down and select photos.
2. Select photos that fit the theme. If you don't have digital copies of all of them, they'll need to be scanned at home or at a store that offers that service (Walgreens, Walmart, Sams, Target...). If you don't have photos from the past, you can take photos specifically for the collage. For example, if you wanted to do a "cheers" theme to congratulate someone who's retiring where you work, you could take a camera to work and take photos of co-workers pretending to toast with a glass or bottle. In other words, if you don't have enough photos to work with--fake it!
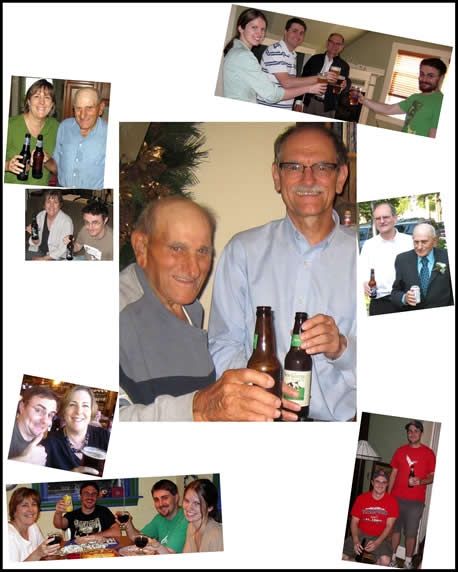
3. Select one central photo that is particularly good of the person being celebrated and fits with the theme of the collage. I chose a favorite father-son photo of Al and King-Man sharing a brew.
4. On your computer, create a page of whatever size you want (mine is 8x10*) and insert the central photo in the middle. Make it big, but leave a border for adding smaller photos around the perimeter. *Hint: Make the collage the size of a standard ready-made frame. It will be much more expensive if you have to have a frame custom made.

5. Begin adding photos to the border. Crop them into different sizes and shapes. Scatter them randomly and at different angles. A scattered layout is easier, because you don't have to worry about everything being sized so that it lines up perfectly. It also gives the collage a fun, casual look.
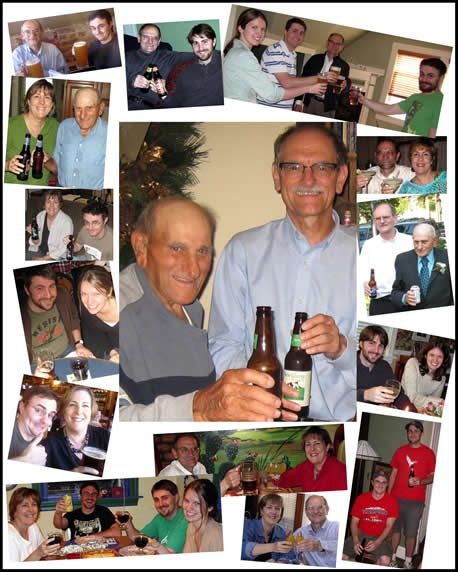
6. Continue adding photos until the outer border is full. I recropped and resized photos a few times to get them all to fit. I tilted them at different angles, too. You have to play with the photos a bit before getting everything to fit. In the end, I eliminated a few photos so the collage wouldn't get too crowded.
7. Add some clipart that goes along with the theme. I searched for "party" clip art and found these balloons. Then I added a yellow border around the central photo that matched the yellow balloon.

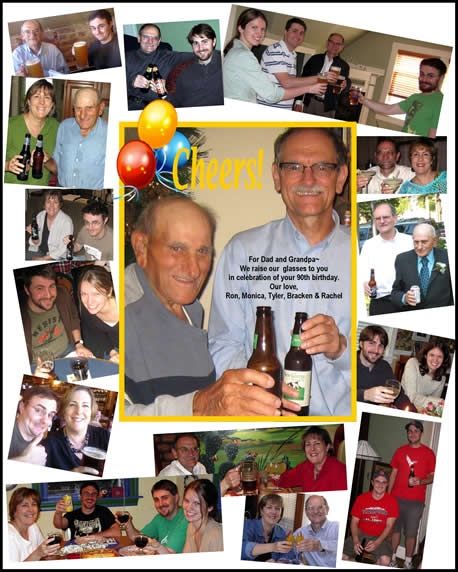
8. Add a title befitting the occasion or theme. I added "Cheers!" in the same yellow as the balloon and border.
9. Add a message. I wrote "For Dad and Grandpa--We raise our glasses to you in celebration of your 90th birthday. Our love, Ron, Monica, Tyler, Bracken, and Rachel." Every photo matched that sentiment--all with raised glasses and smiling faces.
10. Add colored borders around the remaining photos. I used the two remaining balloon colors. (I'd already used the yellow.) Approx. half of the photos around the perimeter have a blue border added.

Then I added a red border to the remaining photos.
That's it. Collage complete.
11. Frame it. Done!
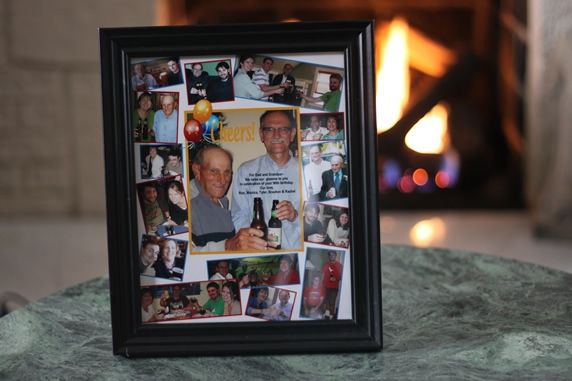
Photo collages for all occasions. These can be modified with appropriate themes and photos for countless special occasions:
- Birthday
- Anniversary
- Retirement
- Graduation
- Wedding
- Baby
Everyone loves photos, especially when you've put a little TLC into personlizing them for that special person being celebrated.
Make it a yummy day!