

No-Cook Dry Mixes Make Easy Gifts From Your Kitchen

Santa and his elves have been very busy in our family kitchens this past week. During the hustle-bustle of the holidays, I always simplify as much of my gift giving as possible by making gifts from my kitchen. This year I made up jars of two recipes I've shared in previous posts to give King-Man's co-workers:
- Fiesta Taco Seasoning Mix (for seasoning taco meat and numerous other recipes)
- 14-Spice Dry Rub Mix (for seasoning all types of meat and fish)
My son, Bracken (aka Brackenthebox), and daughter-in-law, Rachel, were elf-like last week in their Boston kitchen, making party favors for Bracken's company holiday party. They made mugs of:
In today's post, I'm going to show you how we made big batches of these recipes and jazzed them up for gift giving. All three of these recipes are easy to make, because they require NO COOKING. They're all just a matter of mixing some dry ingredients together. All of these mixes are user-friendly, too, making them much appreciated by the recipients.
--------------------------------------------------------------------------
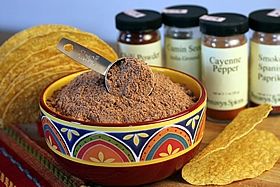
Mix #1: Fiesta Taco Seasoning Mix
If you've been following my blog, you may have noticed that I use this mix for seasoning lots of recipes. They're all listed in the original blog post (see link below). If you want to make up some of this taco mix, here's the link for the original recipe. Plus, I've just added printable tags to that post.
Click to view Fiesta Taco Seasoning Mix recipe and printable tags
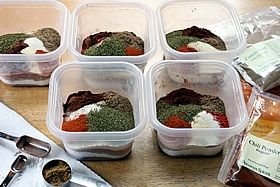
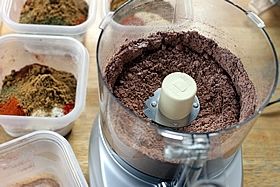
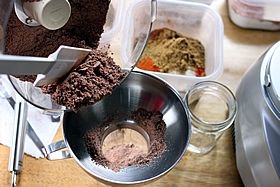
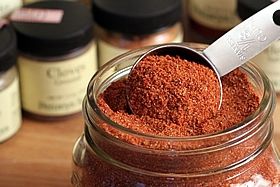
I prefer to do the mixing in my food processor in order to mix it thoroughly. But you can whisk it together in a bowl, too. I needed to make 5 batches of the recipes--enough to fill 12 half-pint jars. First, I measured the ingredients into five containers in assembly-line fashion. Then I whirled each batch in the food processor.
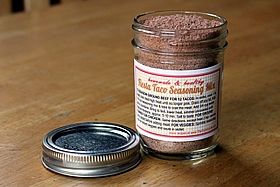
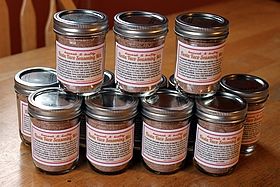
I used a canning funnel to add the taco mix to the jars.

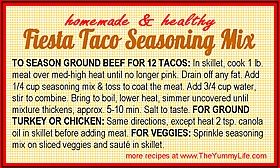
I made these labels to attach to the jars. They also can be printed on card stock, hole punched, and hung around the rim with a string, ribbon, or rubberband. The labels have the basic recipe on them for preparing taco meat. That makes this a gift that needs no explanation--the directions are always there for the recipient to use.
-----------------------------------------------------------------------------
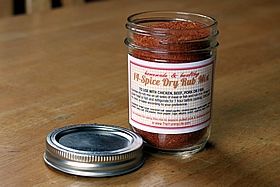
Mix #2: 14-Spice Dry Rub Mix
This mix is versatile and great to have on hand for seasoning all kinds of meat. I especially like it for grilled meats. I've also added the printable tags shown below to the original recipe post.
Click to view 14-Spice Dry Rub Mix recipe and printable tags
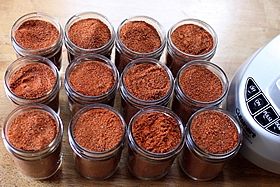
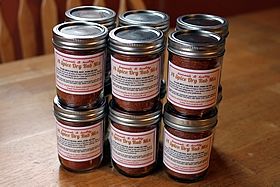
I used the same procedure as with the taco mix--each batch was mixed in the food processor. It took 7 batches of the recipe to fill 12 half pint jars.

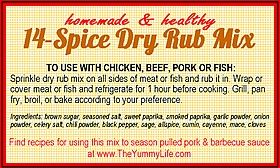
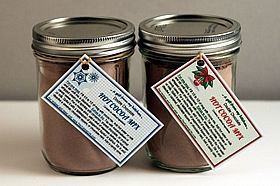
I made these labels to explain how to use the dry rub mix.
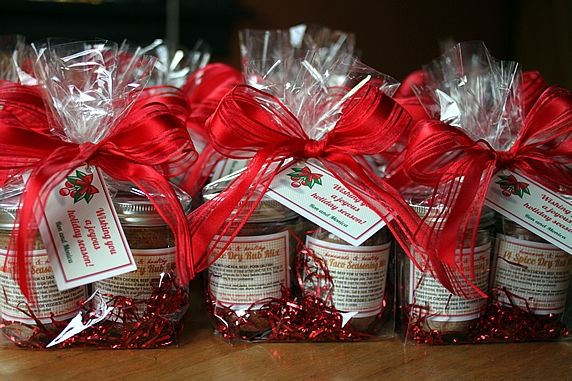
Give one mix or both!
For King-Man's co-worker gifts, I bagged up both mixes together in cellophane bags. I added red metallic fru-fru inside the bag and tied it with a bow.
view on Amazon: cellophane gift bags

-------------------------------------------------------------------------------
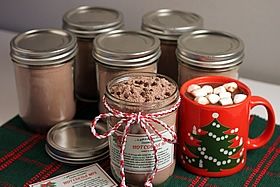
Mix #3: Double Chocolate Hot Cocoa Mix
This has been the most popular gift mix on The Yummy Life during the holiday season. Who doesn't love hot chocolate? It's easy to make and fun to give by itself or with a festive mug. My original recipe post has two styles of printable tags you can use, along with some ways to jazz it up for gift giving.
Click to view Double Chocolate Hot Cocoa Mix recipe and printable tags
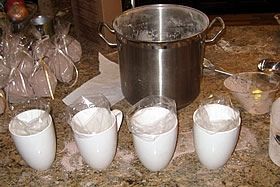
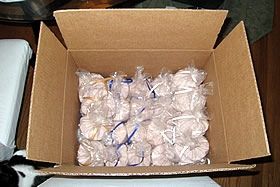
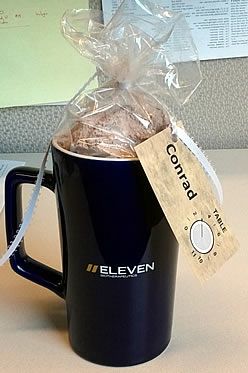
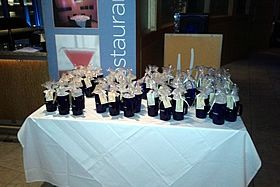
Bracken works for a company called Eleven, and he and Rachel bagged up hot cocoa mix to go inside logo mugs that were party favors at the Eleven holiday dinner. They had to make enough to fill 80 mugs. That's a lot of cocoa! They whisked multiple batches together in a large pasta pot, rather than using the food processor. They used mugs from home as forms for filling plastic bags with the mix and then tied them with a ribbon. The bags fit compactly in a box for transporting them to the dinner.
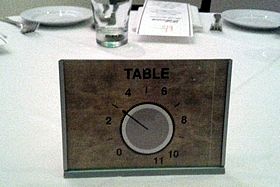
Bracken made his own tags for the cocoa mix and mugs with a contemporary design. Everyone got a mug with his/her name on the tag, along with the table number where they would be seated for dinner. The flip side of the tag had instructions for using/mixing the hot cocoa mix--the same instructions that are on the printable tags I made.
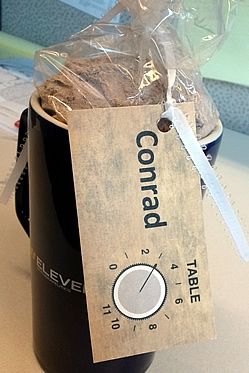

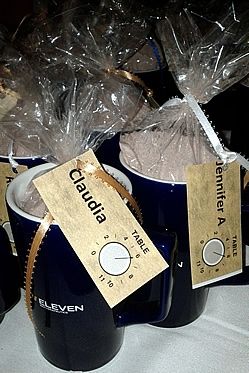
As guests arrived at the dinner, they picked up their mugs and then went to the table number identified on their tag. What a fun, clever idea! (Kudos to Bracken for taking all of these photos for me to share on The Yummy Life.)
-----------------------------------------------------------------------------
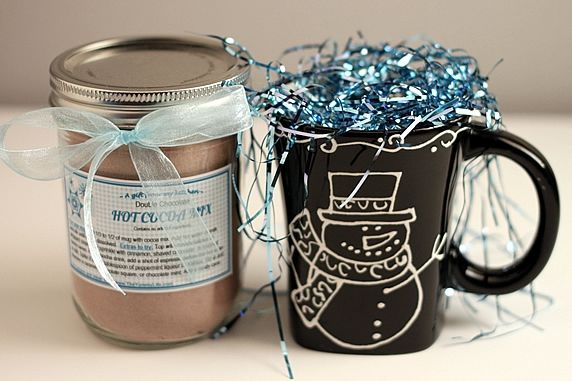
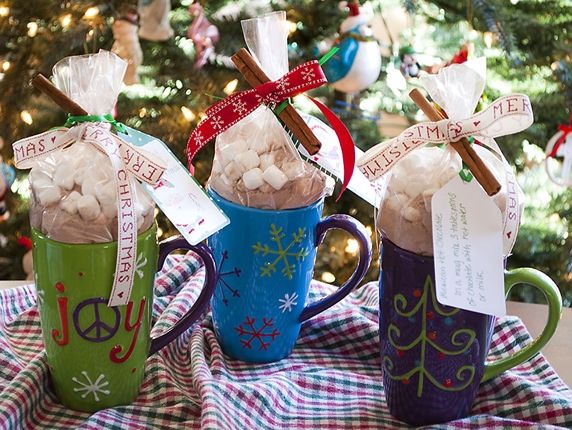
Another fun spin on a hot cocoa mix gift:
My blogger friend, Rhonda, at The Kitchen Witch, adapted my recipe to make these gift mugs filled with Mexican Hot Chocolate mix. Aren't they gorgeous? Who wouldn't love to receive one of those? Check out Rhonda's fun blog. She has lots of great recipes with fabulous photos (like the one below). Thanks, Rhonda!
----------------------------------------------------------------------------
I love giving homemade gifts, and the 3 mixes I shared in this post couldn't be easier. King-Man and I had fun playing Santa last night when we set these gift bags around on the desks of his co-workers to surprise them when they arrived at work today. Ho! Ho! Ho!
Make it a Yummy holiday!